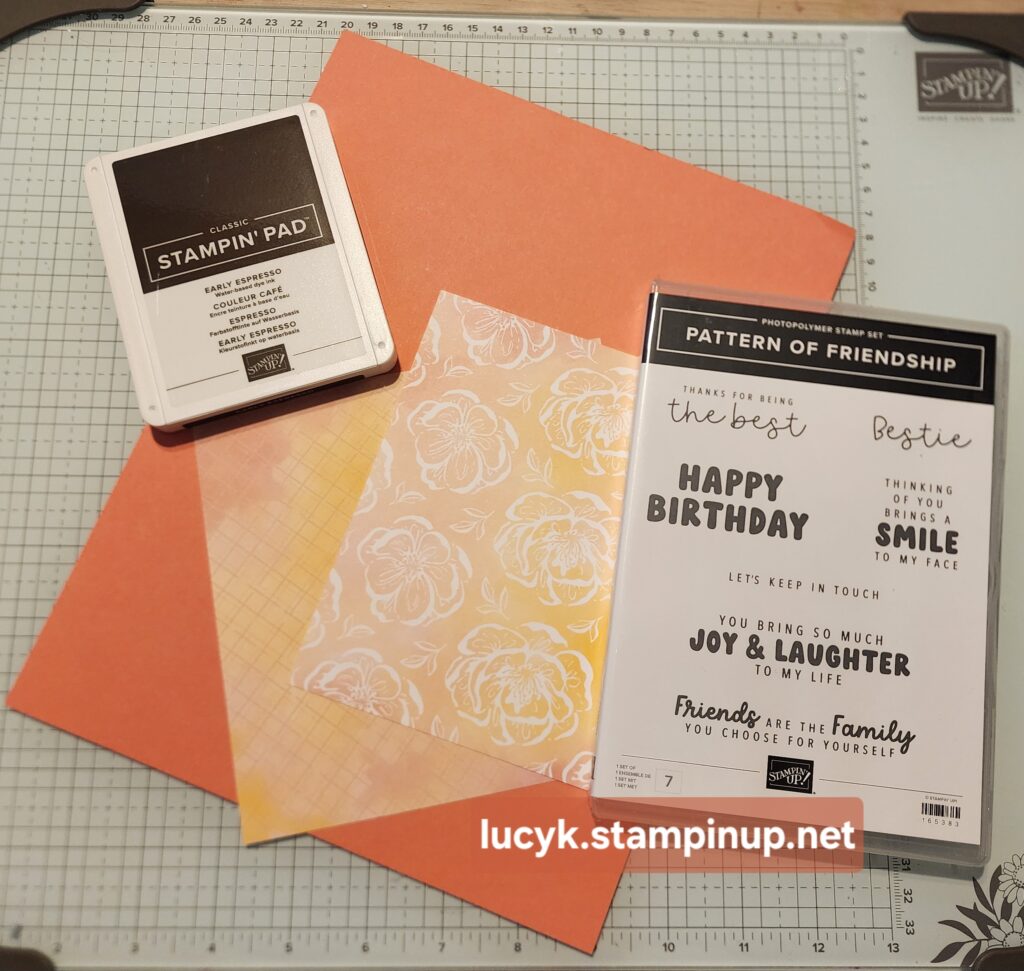
Ever feel like you need an entire craft store in your house just to get started? Trust me, you don’t! I know how overwhelming it can be when you see all those fancy tools and endless supplies, but let’s keep it real—you don’t need all that to make something beautiful.
All you really need is some cardstock, ink, and one good stamp. But if you’re not ready to dive into stamping yet, no worries! You can start with just cardstock, patterned paper, and stickers or die cuts to create something beautiful with minimal effort. Seriously, these little additions can add so much personality to your projects without any extra fuss.
Check out the cards below for some inspiration—these were made using just cardstock, patterned paper, and stickers or die cuts. See? You’ve got this! Starting with just a few basics can be fun and stress-free. Many beginners hesitate to dive into paper crafting because they think they need an entire craft room stocked with fancy gadgets. But here’s the truth: you only need a few essentials to make something beautiful. Whether you go the stamping route or prefer to use stickers and die cuts, you can create amazing handmade projects with minimal effort.
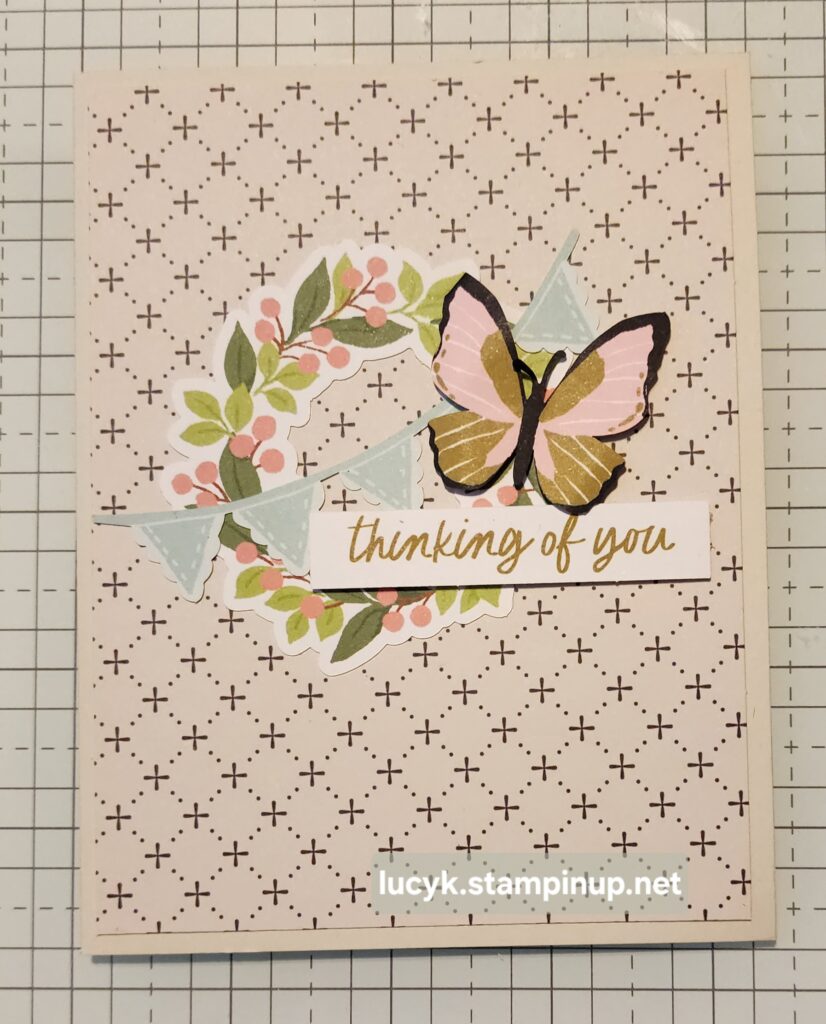
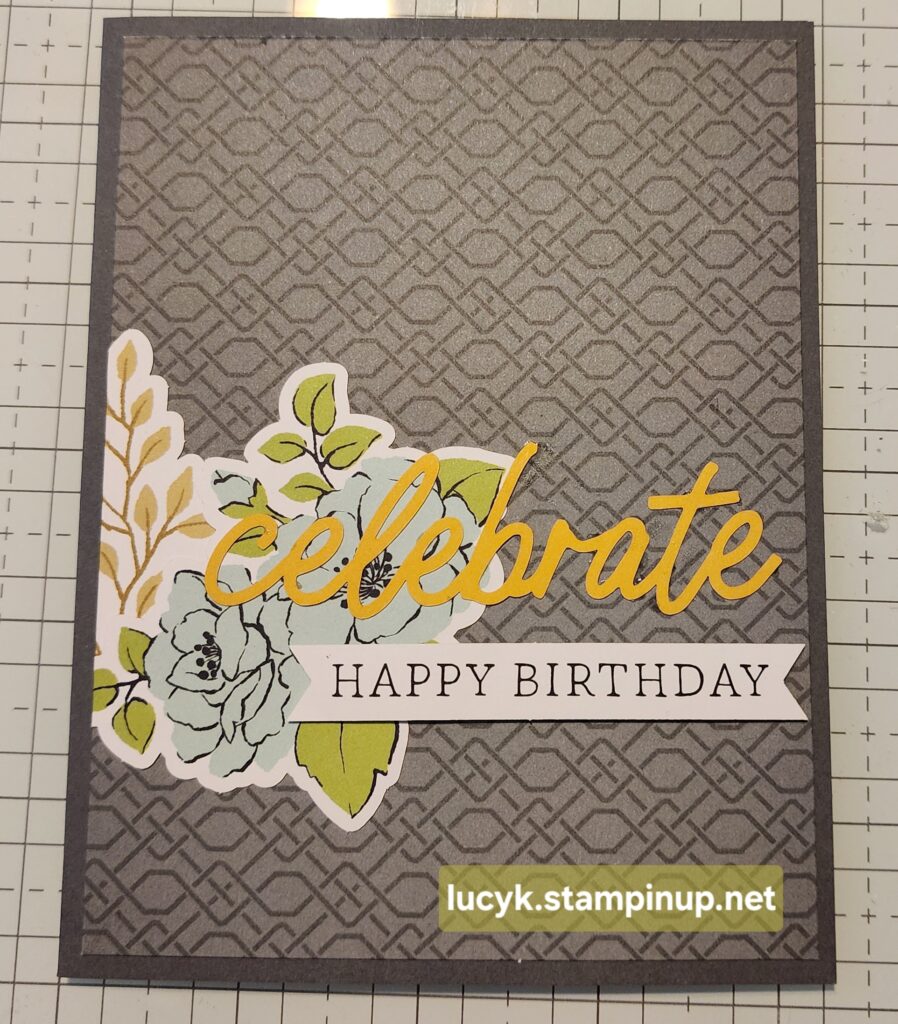

Essential Supplies for a Beginner Crafter
Before you dive in, let’s talk about the few basic supplies you need to start crafting with confidence—nothing fancy, just the essentials! Let’s keep it simple. Below, you’ll see two different beginner-friendly setups: one for stamping and one using stickers or die cuts.
- Cardstock – Grab some good-quality cardstock in neutral shades (white, cream, or kraft) and maybe a few fun colors to play with.
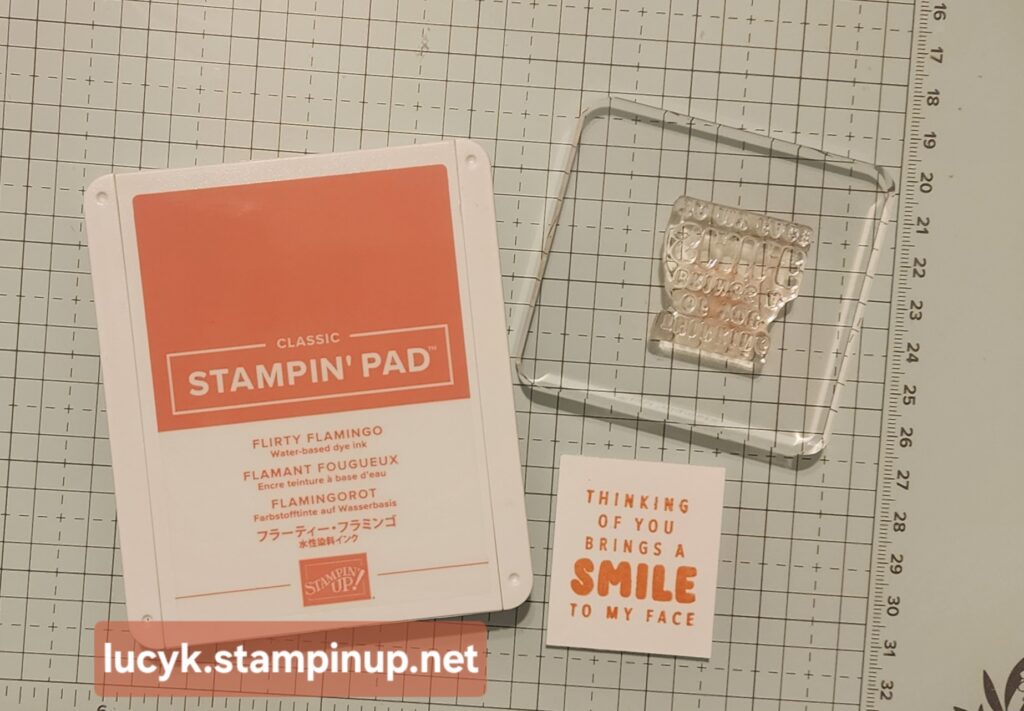
- Ink Pad – Start with a classic black ink pad. Once you’re comfortable, you can branch out into colors.
- One Stamp – A single sentiment stamp (like “Thank You” or “Happy Birthday”) or a simple floral or geometric design is enough to start.
- Scissors or Paper Trimmer – You’ll need something to cut your cardstock neatly.
- Adhesive – A glue stick or double-sided tape works perfectly.
- Stickers or Die-Cuts – A fantastic alternative to stamps and ink! These add instant personality to your projects without any extra tools.
Here’s a look at both options side by side:
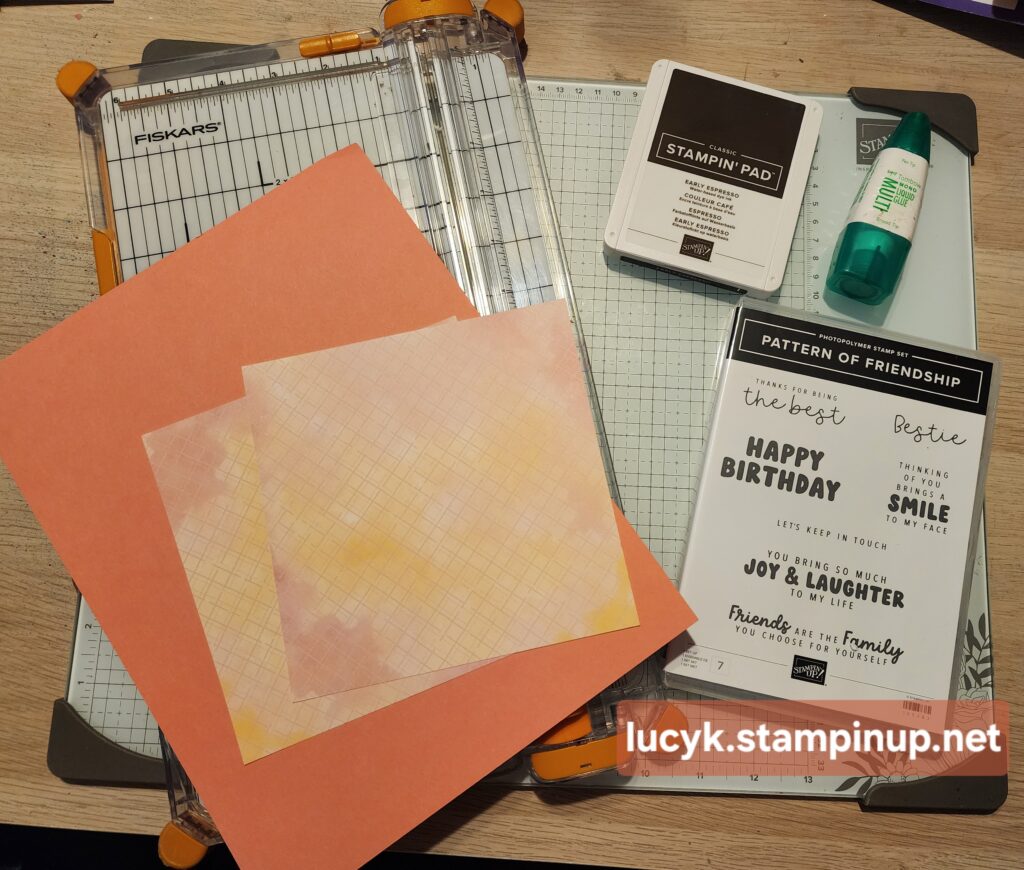
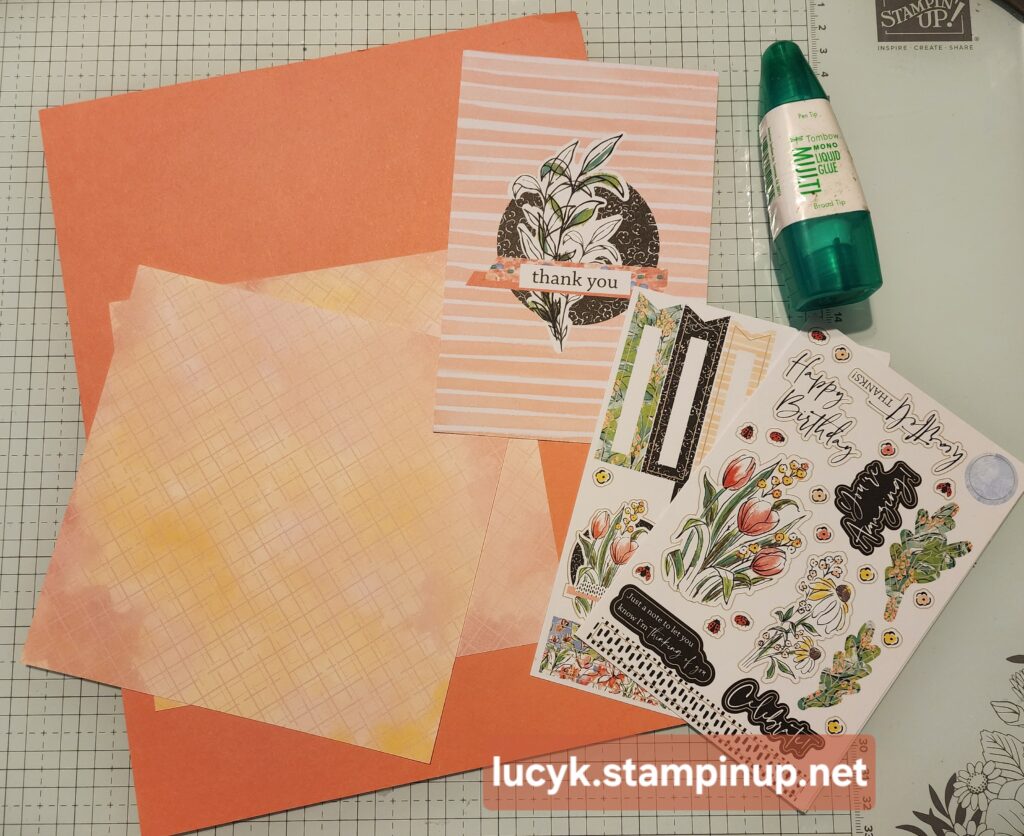
That’s it! No fancy machines, no overwhelming shopping list. Just a few basics to get you started.
Simple Techniques to Try
You don’t need a ton of experience to make something beautiful. Here are a few easy techniques that will have you feeling like a crafting pro:
1. Stamping
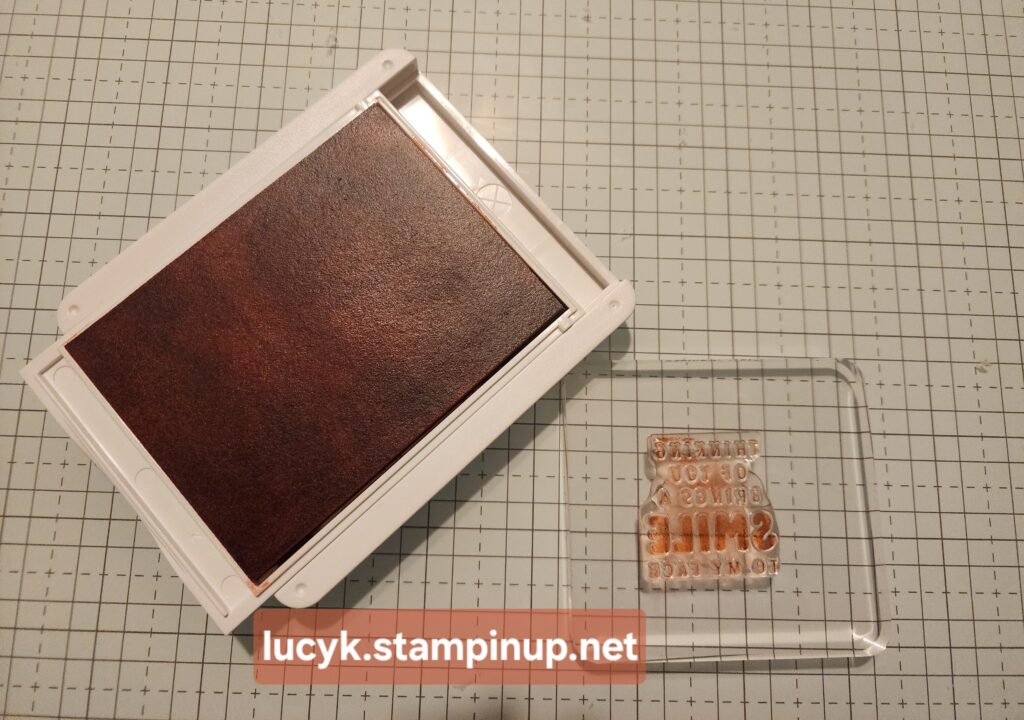
- Lightly tap your stamp onto the ink pad—no need to press too hard!
- Press it onto your cardstock with even pressure (don’t rock it, or it’ll smudge).
- Lift the stamp straight up, and voila! A crisp, clean image.
2. Layering
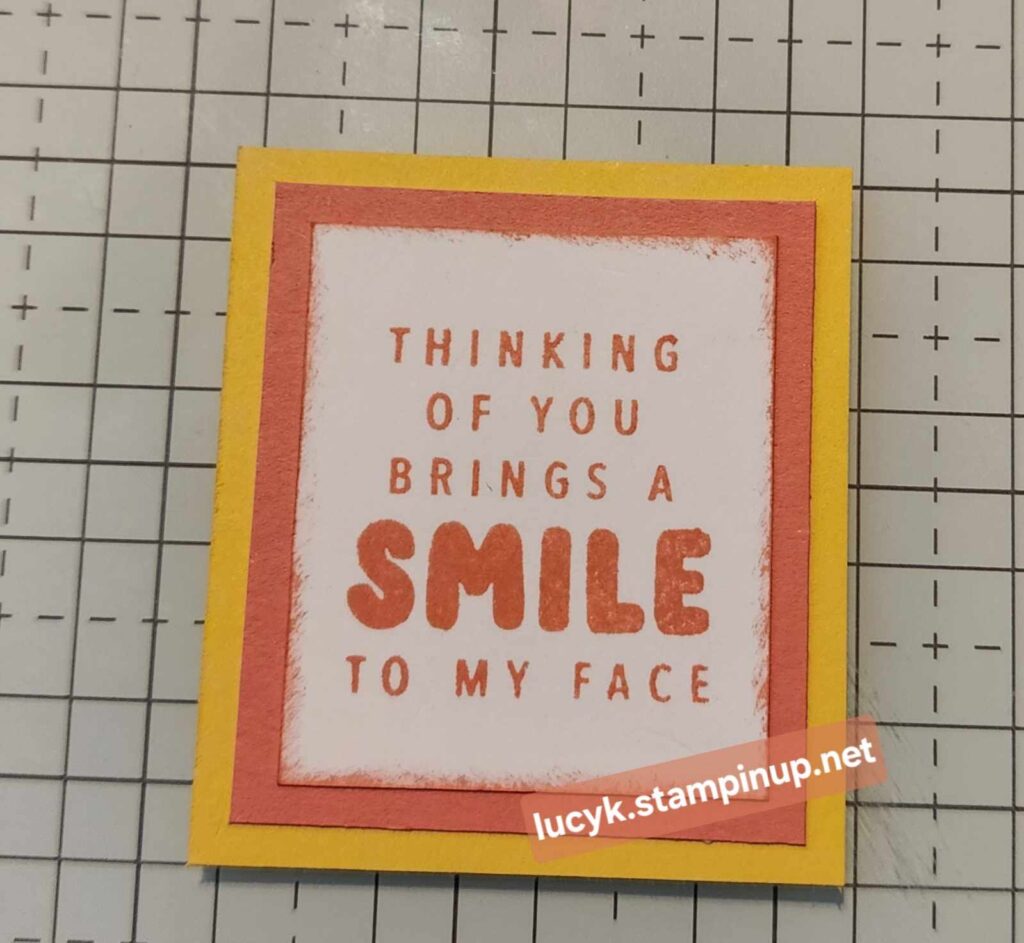
- Cut a piece of colored cardstock slightly bigger than your stamped image.
- Stick the stamped piece on top to create a nice framed look.
- Try layering different colors for extra depth!
3. Creative Ways to Use Ink Pads
Ink pads aren’t just for stamping! Here are a few fun and easy ways to use them:
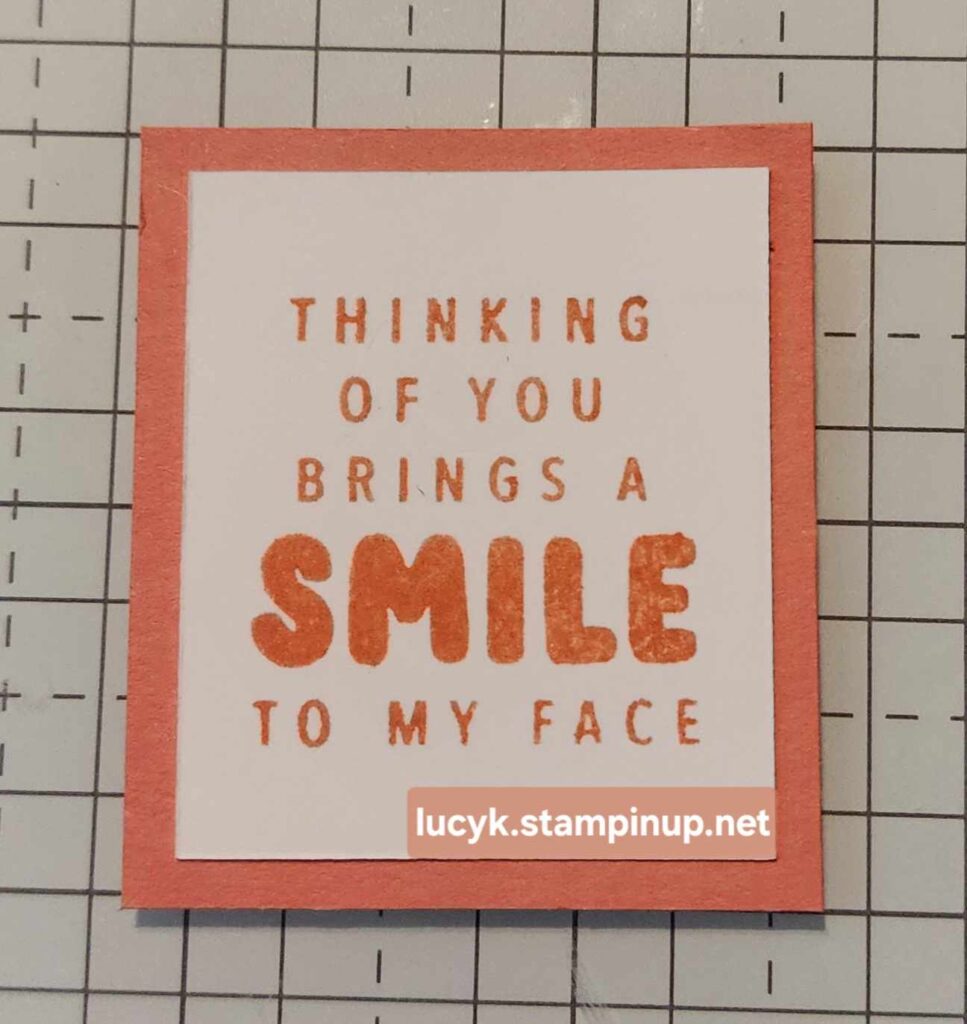
- Edging & Distressing: Lightly drag the edges of your cardstock over the ink pad for a distressed, vintage look. Perfect for adding dimension! See picture above with Daffodil Delight and Flirty Flamingo layers – can you see the color around the white cardstock – that’s Flirty Flamingo ink on the edges!
- Ink Blending: Use a sponge or blending brush to pick up ink and swirl it onto your cardstock for a soft, shaded effect. Great for backgrounds!
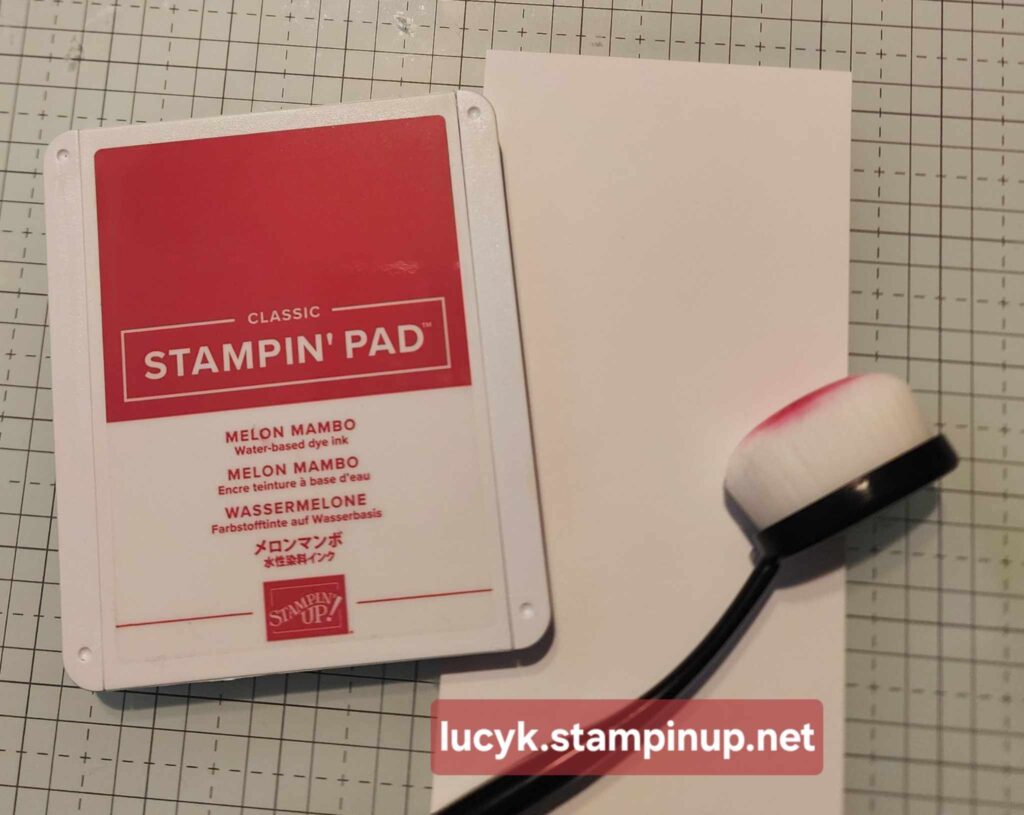
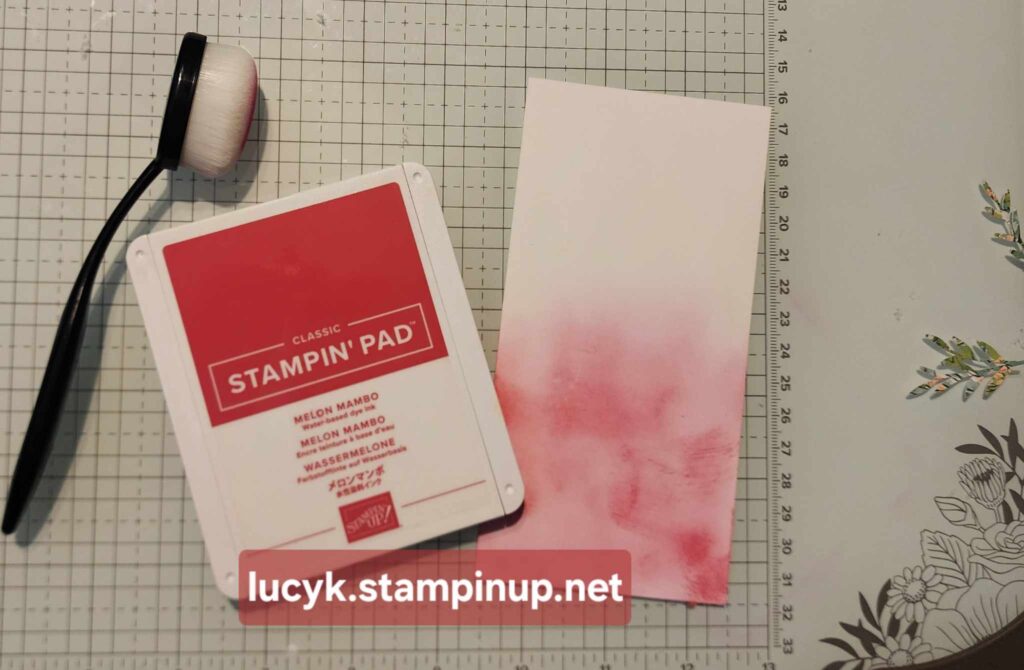
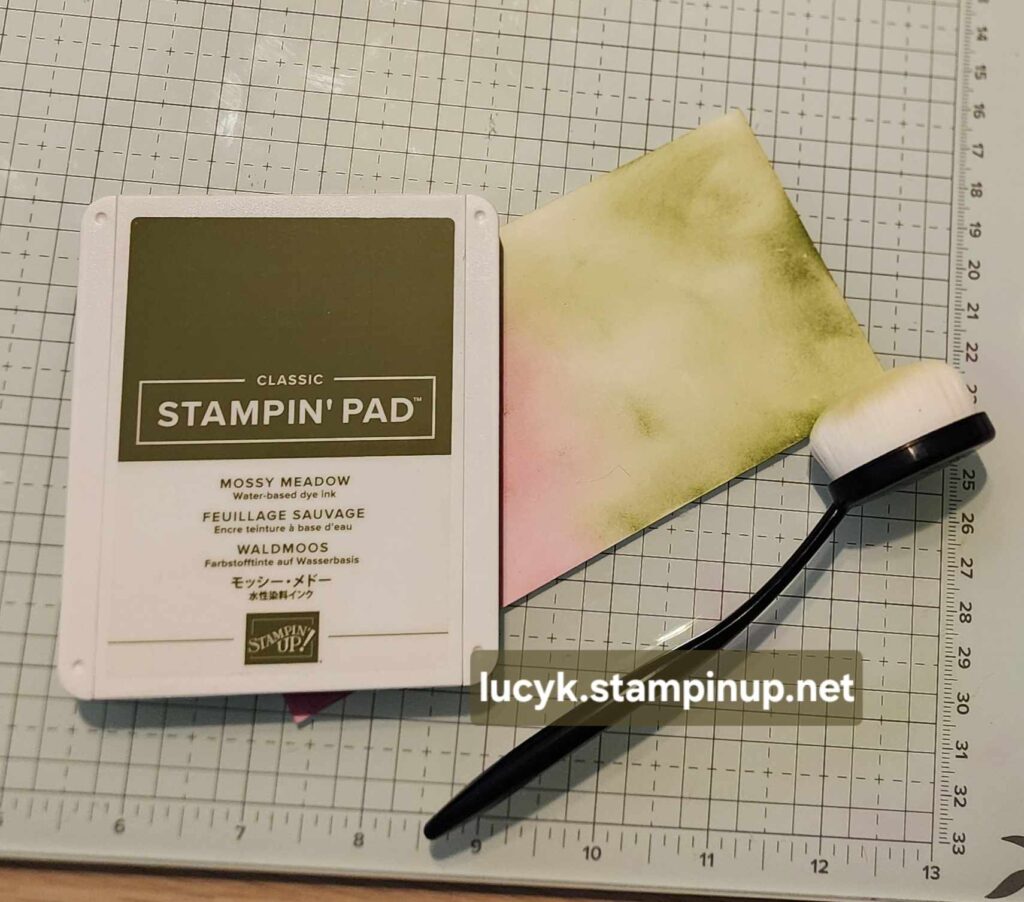
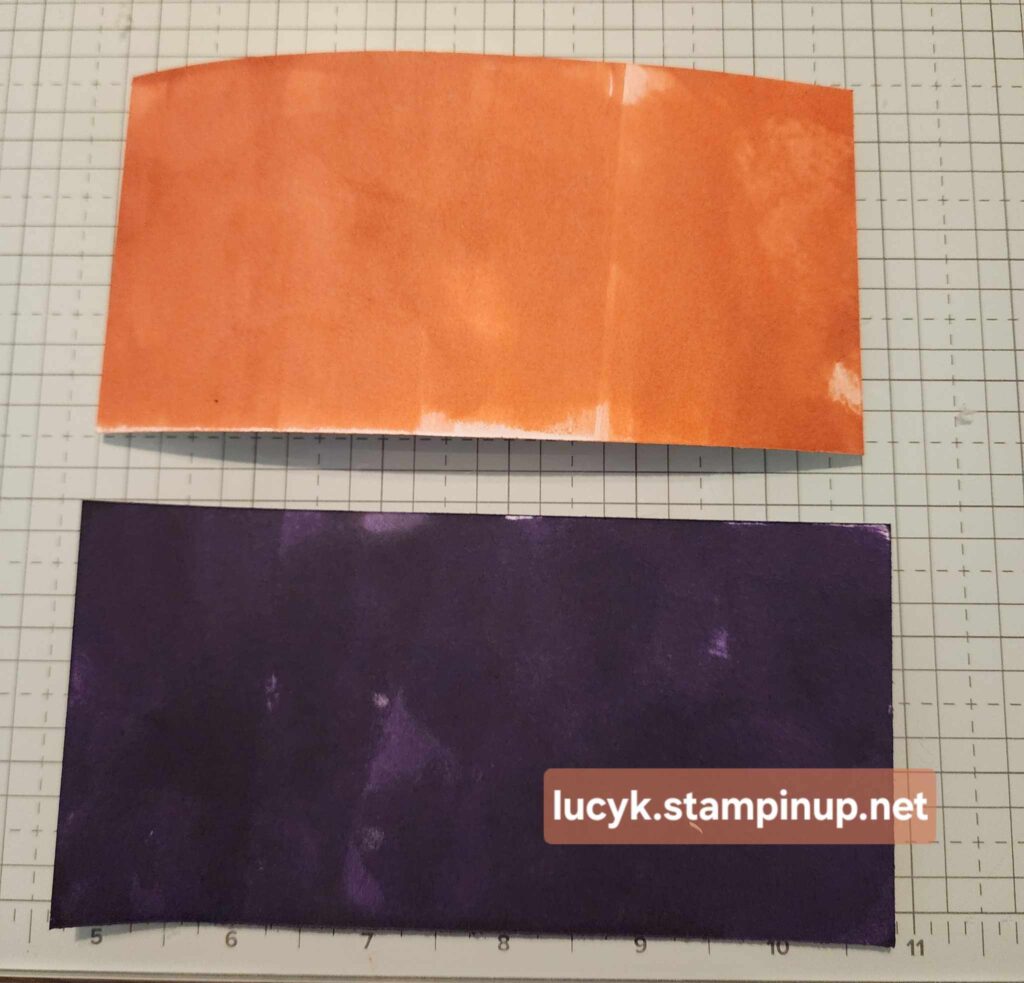
- Direct-to-Paper Technique: Press the ink pad directly onto your cardstock for a bold, textured background. Experiment with different angles!
Step-by-Step Beginner Project: Simple Thank You Card
Materials Needed:
- White cardstock (4.25” x 11”), (2” x 4”)
- Colored cardstock (4” x 5.25”) (3.75” x 5”)
- Black ink pad
- “Thank You” stamp
- Adhesive
Instructions:
- Fold 4.25” x 11” piece of cardstock in half to create a card base.
- Stamp your “Thank You” sentiment in the center of the 2” x 4” white cardstock.
- Layer the colored cardstock onto white cardstock piece using adhesive.
- Attach the layered piece to the card base.
- Want to get fancy? Lightly ink blend around the edges for a soft, polished look. (Like I did in this card!)
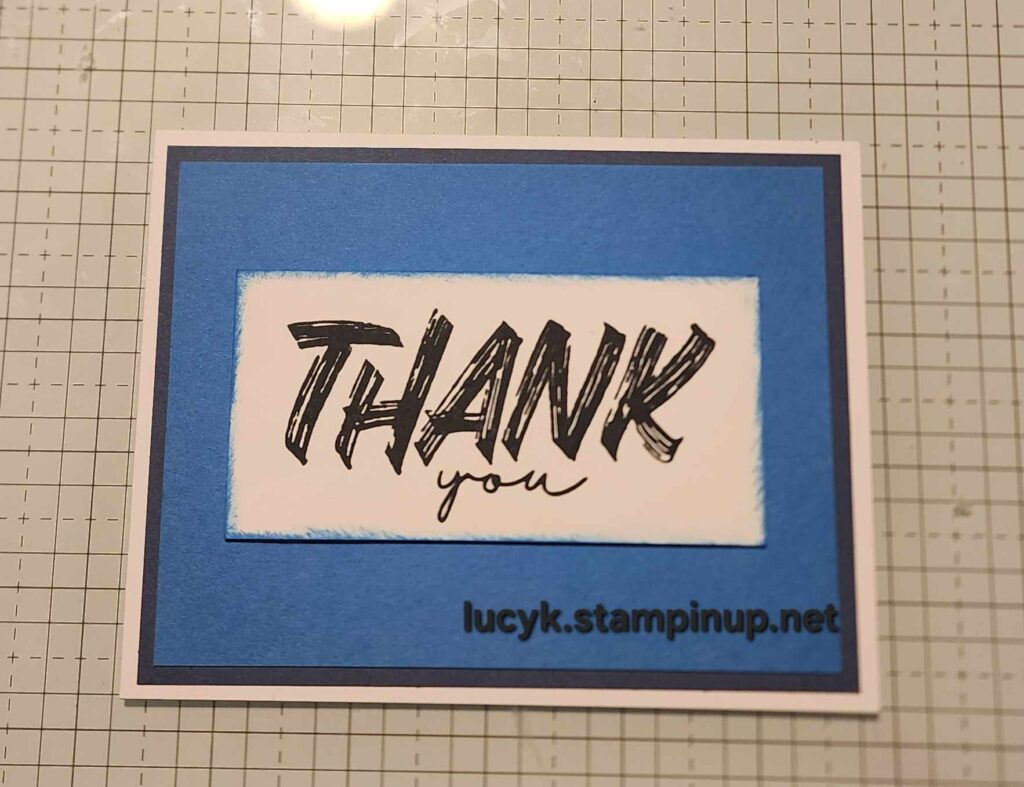
Boom! You just made your first handmade card. How easy was that?
See? Starting your crafting journey doesn’t have to be complicated or expensive. With just a little cardstock, ink, and one trusty stamp, you can make something truly special. The key is to have fun, experiment, and not stress over perfection!
Now, here’s where you come in! I’d love to see what you create—snap a pic and tag me on social media. Or drop a comment and let me know what crafty adventures you’re starting. Need help picking supplies? Send me a message, and I’ll be happy to guide you!
Happy crafting, friend!