So, you’re ready to bring your creative ideas to life, but you’re wondering—what tools do you really need? Walk into any craft store, and you’ll be met with aisles of options, from scissors and adhesives to cutting machines and specialty inks. It can be overwhelming, but don’t worry!
The truth is, you don’t need every fancy gadget to get started. The right tools make crafting more enjoyable, help your projects look polished, and allow you to create with confidence. Whether you’re a beginner or an experienced crafter, this guide will help you choose the best tools to fit your needs.
Must-Have Essentials for Every Crafter
👉 For beginners: Start here!
Starting with just a few essential tools is the best way to avoid overwhelm. These must-haves will allow you to create beautiful projects without a huge investment.

I remember my very first card took me two hours and more than a few tears—mainly because I picked a kit that involved an X-Acto knife and way too much precision. I didn’t know what tools I needed, and I was totally overwhelmed. If I had started with just scissors, a paper trimmer, and a tape runner, I probably would’ve saved myself a mini meltdown!
✅ Beginner’s Tool Checklist:
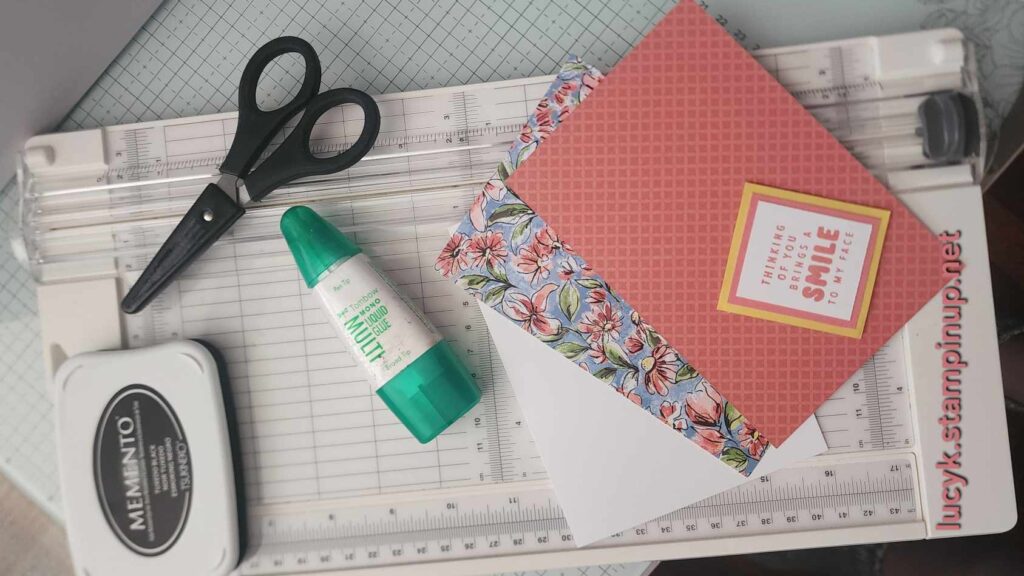
- Scissors (detail + large)
- Paper trimmer
- Tape runner or glue stick
- Liquid glue
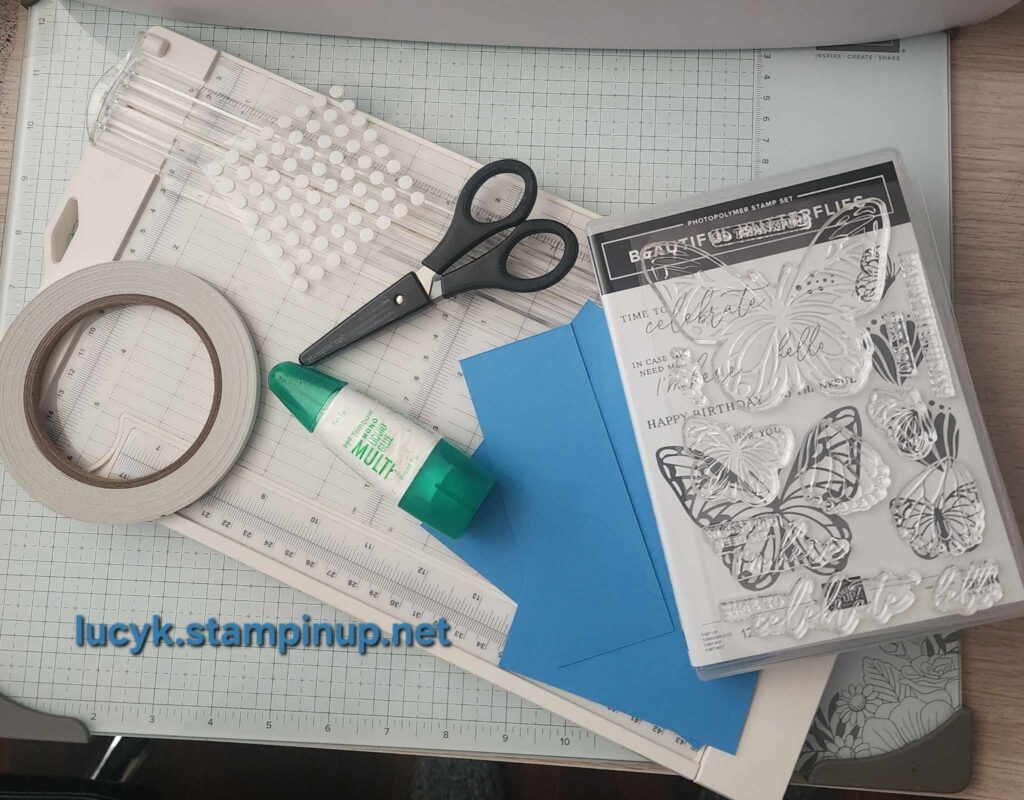
- Foam dots
- Black ink pad
- Acrylic block
- Sentiment stamp set
- Assorted cardstock (neutrals + fun colors)
1. Quality Scissors
A good pair of scissors is a non-negotiable. You’ll need sharp, precision-cutting scissors for detailed work, plus a larger pair for cutting cardstock. Look for non-stick blades if you plan to cut adhesives.
2. Paper Trimmer
A paper trimmer gives you clean, straight cuts—something that’s hard to achieve with scissors alone! Look for one with a grid and measurement guides for accuracy.
3. Adhesives
The right adhesive makes a difference! Here are a few essentials:
- Glue Stick or Tape Runner – Great for quick and clean adhesion.
- Liquid Glue – Perfect for intricate pieces but requires drying time.
- Foam Dots – Adds dimension to your projects by lifting elements off the page.
4. Basic Stamping Tools
Stamping is one of the easiest ways to create beautiful, personalized cards and scrapbook layouts. Start with:
- Acrylic Blocks – Used to mount clear stamps for easy placement.
- Black Ink Pad – A go-to for crisp, clean stamped images.
- One Versatile Stamp Set – A simple sentiment set is a great place to start!
5. Choosing the Right Ink
Inks are a big part of stamping and one of those tools that can make or break your project! There are several types—like dye, pigment, and archival inks—and each one works a little differently depending on what you’re making. For most beginners, a black dye-based ink pad is a great starting point. If you’re curious about the differences and when to use what, I’ve put together a guide to help you choose the right ink for every project.
👉 Check out my blog post “Choosing the Right Ink – What Every Crafter Should Know” [link coming soon]
6. Neutral & Colored Cardstock
A sturdy cardstock in neutral shades (white, cream, kraft) is a must-have base for projects. Then, add a few fun colors for variety!
Leveling Up – Tools That Enhance Your Creativity
👉 For intermediate crafters: Expand your toolkit!
Once you’ve mastered the basics, it’s time to add tools that help refine and elevate your designs.

1. Bone Folder
This simple tool helps you create crisp, professional-looking folds on cards and scrapbook layouts. It’s also great for scoring paper before folding.
2. Embossing Tools & Heat Gun
Want to add texture and shine to your projects? Embossing is a game-changer! All you need is:
- Embossing Powder – Available in metallic, clear, and colorful options.
- Heat Gun – Melts the powder to create a raised, glossy effect.
3. Blending Brushes & Inks
Blending inks onto your cardstock creates soft, seamless color transitions. Use blending brushes or foam applicators to create backgrounds and add shading.
4. Die-Cutting Machine & Thin Cuts
A die-cutting machine like a Big Shot or Cuttlebug allows you to cut intricate shapes, frames, and sentiments with ease. Thin metal dies (also called “thin cuts”) make it easy to add layers and details to your designs.
Advanced Tools for the Crafting Pro
👉 For those ready to take their skills to the next level!
If you’ve been crafting for a while and want to expand your creative possibilities, these advanced tools will take your projects up a notch.
1. Stamp Positioning Tools
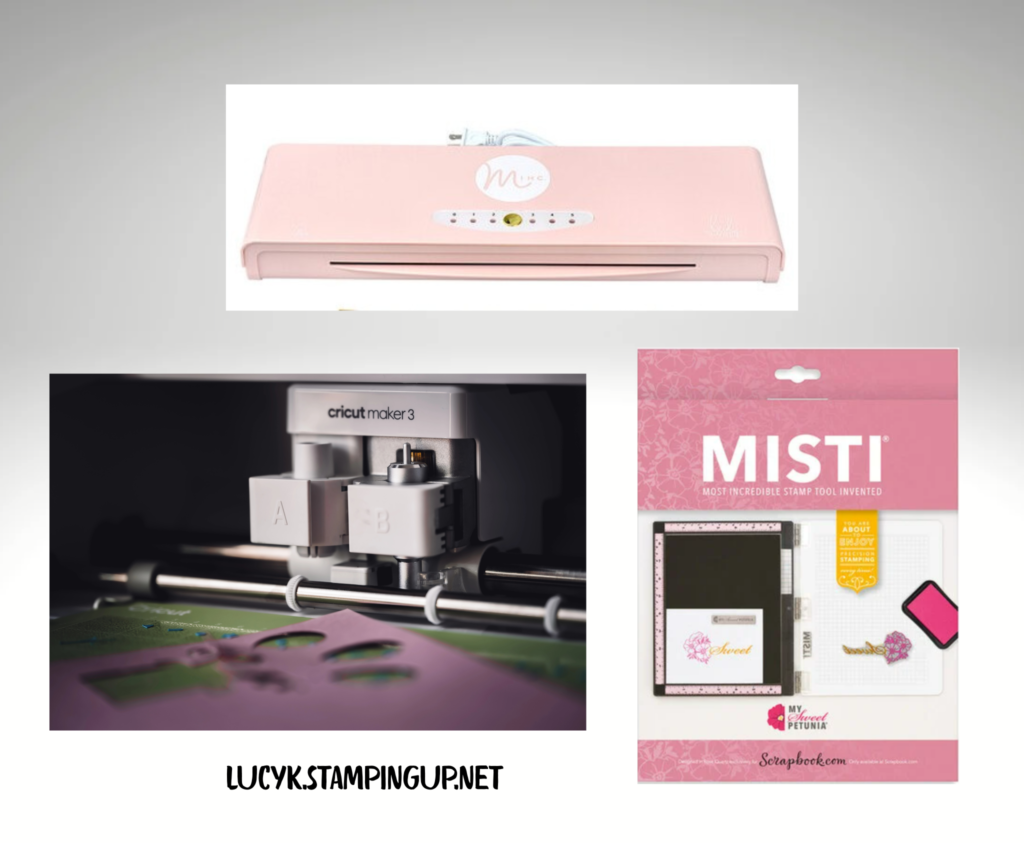
Stamping can be tricky—especially when you want to layer images. Tools like the Misti or Stampin’ Up! Stamparatus allow for perfect placement and repeat stamping for crisp, bold impressions.
2. Electronic Cutting Machines
Machines like Cricut, ScanNCut, and Silhouette open up endless design possibilities. From custom stickers to intricate paper cuts, these machines are worth the investment for serious crafters.

3. Foiling Machines – Add Luxe Detail to Your Projects
Foiling adds an elegant, metallic touch to cards and invitations. If you love shiny details, consider a foil transfer machine like the Minc Foil Applicator.
4. Organization Systems
As your craft collection grows, keeping your tools organized will save time and frustration. Consider:
- Stackable bins or drawers for papers and embellishments.
- Magnetic die storage for thin metal dies.
- Ink pad holders to keep colors easily accessible.
Pro Tips for Choosing, Using, and Maintaining Your Tools
Having the right tools is only part of the equation—knowing how to care for them will keep them in great shape for years to come!
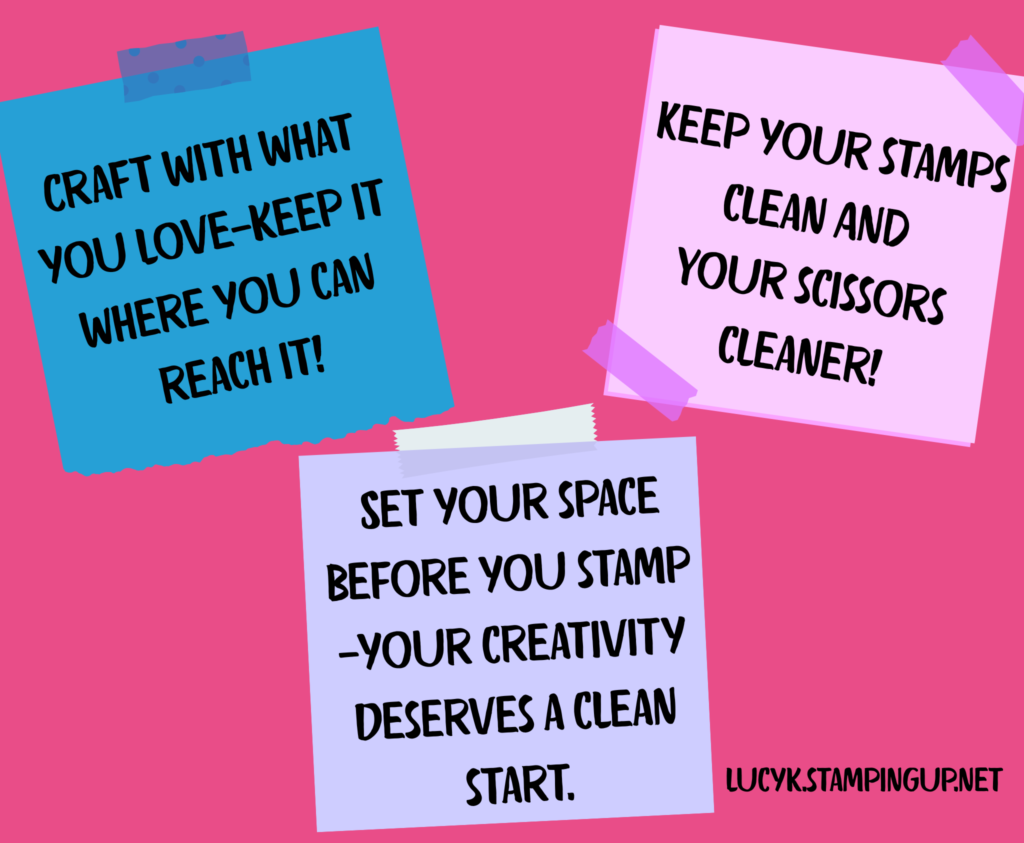
✨ Invest in quality over quantity – A few well-made tools will serve you better than a drawer full of cheap supplies.
✨ Clean your tools regularly – Stamps, scissors, and blending brushes last longer when cleaned properly.
✨ Look for multi-use tools – A bone folder, for example, is great for scoring paper, smoothing folds, and even applying rub-ons!
✨ Keep adhesives sealed – Store glues and tapes properly to prevent drying out.
INSERT IMAGE: PRO TIPS GRAPHIC

Conclusion: Crafting Confidence Starts with the Right Tools
Remember—having the right tools isn’t about having everything, but about having what you need to bring your creative ideas to life. Start with the basics, add tools as you grow, and most importantly—have fun with the process!
👉 What’s your favorite crafting tool? Drop it in the comments—I love hearing what others can’t live without!
📩 Want my free PDF download: “10 Must-Have Tools for Every Crafter”?
Click [HERE] to sign up, and I’ll send it straight to your inbox!
🛒 Ready to shop? I’ve curated some of my favorite beginner tools and supplies [link to your store or recommended products page]. Let’s make your next craft day a breeze!
🎉 Let’s get creating!